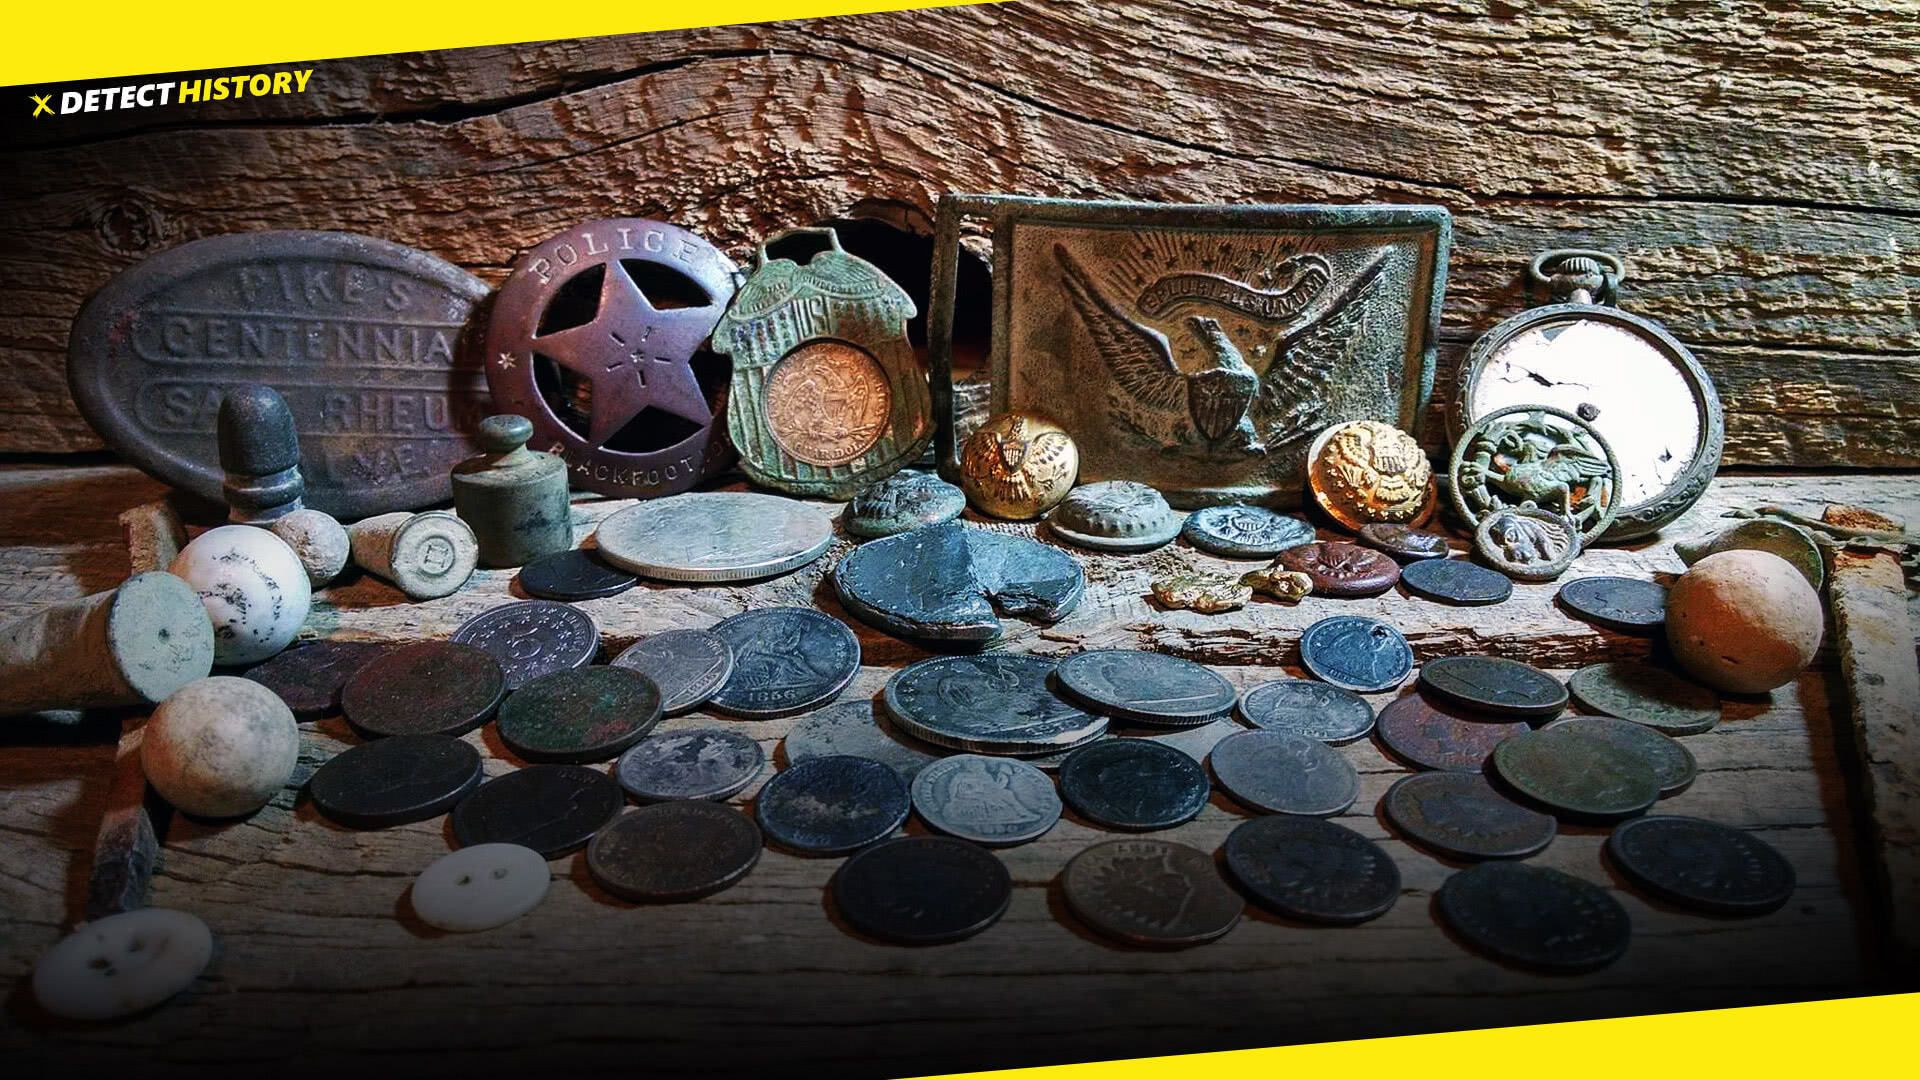
Metal detecting leads to many other things. A knowledge of metals and their properties is just one of the more obvious side effects of metal detecting. After digging up a thousand targets or two thousand, or ten thousand even, you will pretty much become a specialist in what time does to metal when it is buried.
However, and probably more importantly, you will also become the possessor of specialised knowledge concerning the effects of oxygen on metal that has been stored in an anaerobic environment (buried away without oxygen), and then what happens to it when it is suddenly immersed in the corrosive gas that we breathe. Pay close and strict attention!
You can then learn to overcome these deleterious effects, and further preserve your finds, allowing them to keep their value, and also allowing future generations to enjoy what you have created as a labour of love.
In most cases, metal detecting finds can be preserved for another thousand years or two with a simple coat of acrylic spray. Isn’t technology wonderful?
Of course, you could do like some museums and archaeologists have done, and hide the finds in a basement, without treatment of any kind. The plan was to catalogue the finds a few years later as manpower and assistance become available. However, unfortunately, in the majority of cases the finds are not in the condition to be catalogued by then, having turned to azurite/malachite flowers and puff balls, after reacting almost explosively with oxygen in a bizarre and ugly way. This may only be interesting to chemistry specialists. To any collector and fan of numismatics, this is trouble to be avoided at all costs.
One of the best ways to clean the treasures found is with electrolysis. This entails the use of saltwater (1 teaspoon per quart, or thereabouts), as well as a disposable stainless steel butter knife, or a comparably sized piece of stainless steel, and a power supply of the type used to power electronic appliances. The power supply is very important and this is where most people goof. 3-6 volts ONLY with 100-500 milliamp DC as max output for this task. Many think the bigger the power supply, the faster or better it will clean, and that is not working for coins. For most metal detector finds, a slow gentle cleaning is desired and anything else can and will harm the find.
These power supplies are the square blocky types plugged into the wall with a double wire coming out of them that usually has some non-standard type plug. You see them everywhere and thrift stores usually have boxes of them for 50 cents apiece. When shopping for them try to get as close to the voltage and amperage recommended here, and get as many as you can get. Also buy small fans, because these power supplies heat up during this type of use, and if you cool them by using a fan directly on them, it will prolong their life and operation greatly.
As with any new procedure, always practice on pieces that are less valuable, in case there are mistakes, before moving on to more valuable objects.
I usually cut a plastic milk bottle in half, or use a glass bottle for my saltwater solution. Attach the butter knife to one wire from the power supply and the find to the other wire of the power supply (there are usually only two wires.) Immerse both into the solution, clamping or otherwise fixing to the side of the jar, so the items do not touch. Plug the power supply into the wall socket. Either the find or the butter knife should begin to bubble. If the butter knife bubbles, reverse the leads so that the find bubbles. Give it a minute or two if you are not sure, the reaction will become evident pretty quickly. If nothing happens, you have problem with fixation or the power supply is a dud.
The key to electrolytic cleaning is to not overdo it, and this is accomplished by checking often. As soon as dirt starts to liquefy on the surface of the find, it is time to remove and rinse the object. Repeat whenever necessary.
